05 - Presentations
Making Slides with Code
Tom Mock | 2022-07-25
Quarto presentation formats
revealjs- essentially the replacement forxaringan, but with Pandoc-native syntaxbeamerfor LaTex slides- Powerpoint for when you have to collaborate via Office
revealjs
reveal.js is an open source HTML presentation framework. It’s a tool that enables anyone with a web browser to create fully-featured and beautiful presentations for free.
revealjsfor Quarto is a framework for turning Pandoc-friendly markdown + code into beautiful slidesUser guide: https://quarto.org/docs/presentations/revealjs/

Core workflow
---
format: revealjs
---

## Step 1
- Split slides up with level 2 headers: `## Heading 2`
- Add some markdown + text and/or some R/Python code

## Step 2
- quarto render

## Step 3
- Profit
Your Turn
- Open
materials/workshop/05-presentations/revealjs-penguins.qmd - Explore the code
- Add a new slide with a level 2 header and some text
- Render it!
YAML for these slides
---
format:
  revealjs:
    slide-number: c/t
    width: 1600
    height: 900
    logo: "https://www.rstudio.com/wp-content/uploads/2018/10/RStudio-Logo-Flat.png"
    footer: "[Get started with Quarto](https://rstudio-conf-2022.github.io/get-started-quarto/)"
    css: ["theme/theme.css"]
    theme: simple
    echo: true
---
Transitions
| Transition | Description |
|---|---|
none |
No transition (switch instantly) |
fade |
Cross fade |
slide |
Slide horizontally |
convex |
Slide at a convex angle |
concave |
Slide at a concave angle |
zoom |
Scale the incoming slide so it grows in from the center of the screen. |
Sizing
width |
The “normal” width of the presentation, aspect ratio will be preserved when the presentation is scaled to fit different resolutions. Can be specified using percentage units. |
|---|---|
height |
The “normal” height of the presentation, aspect ratio will be preserved when the presentation is scaled to fit different resolutions. Can be specified using percentage units. |
Slide numbering
slide-number |
Display the page number of the current slide
Can optionally be set as a string that specifies the number formatting:
|
Presentation preview
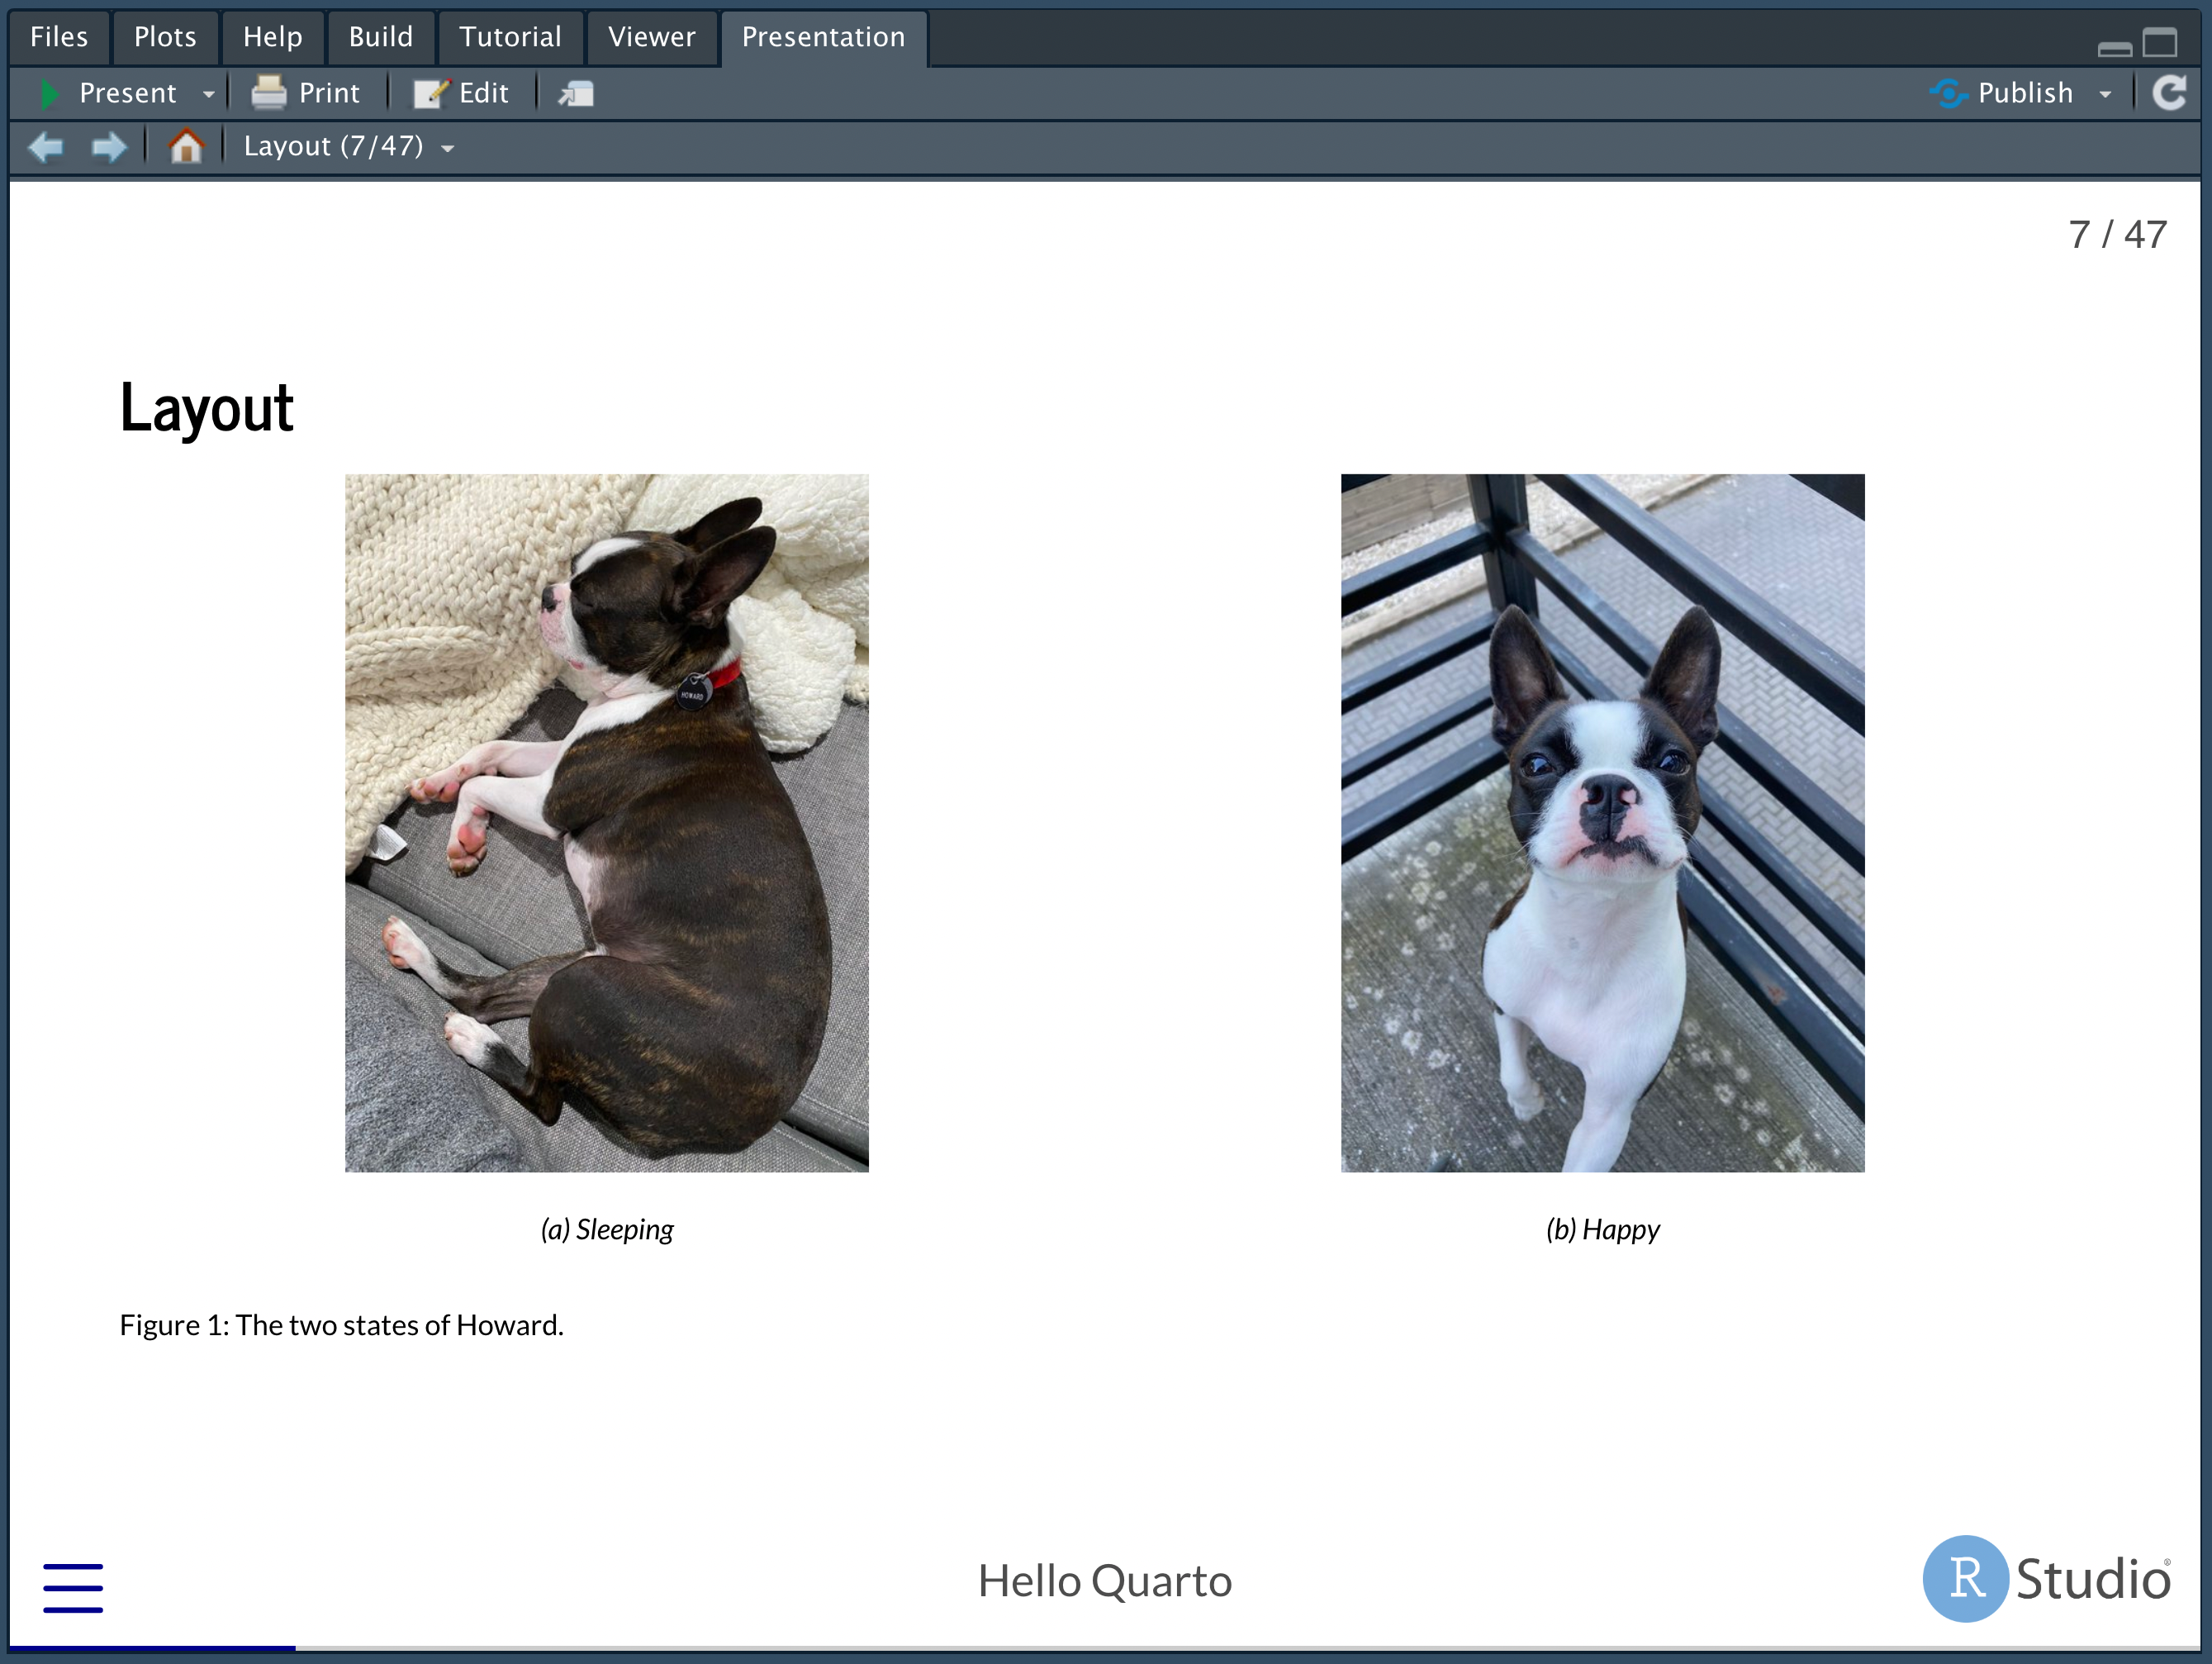
- In the latest version of RStudio, Quarto
revealjspresentations will open up as a “background job” in the Presentation tab.

Your Turn
- Using RStudio, create a new
revealjsQuarto presentation - Change YAML:
- author for your name
- titled “My first Quarto Presentation!”
- Add slide numbering (what do the different types mean?)
- Write out what you did this morning (woke up, ate breakfast, walked to this room, etc) in sub-sections
- New sections should have level 2 headers
- Add a code chunk
- Link out to an image with markdown syntax
- Render it!
revealjs vs xaringan
xaringanfor RMarkdown uses onlyknitrandremark.js, without Pandoc and with some Pandoc-incompatabilitiesrevealjswas a lesser known RMarkdown package, but is the primary HTML slide generator for Quarto
If you loved xaringan, you’ll love revealjs!
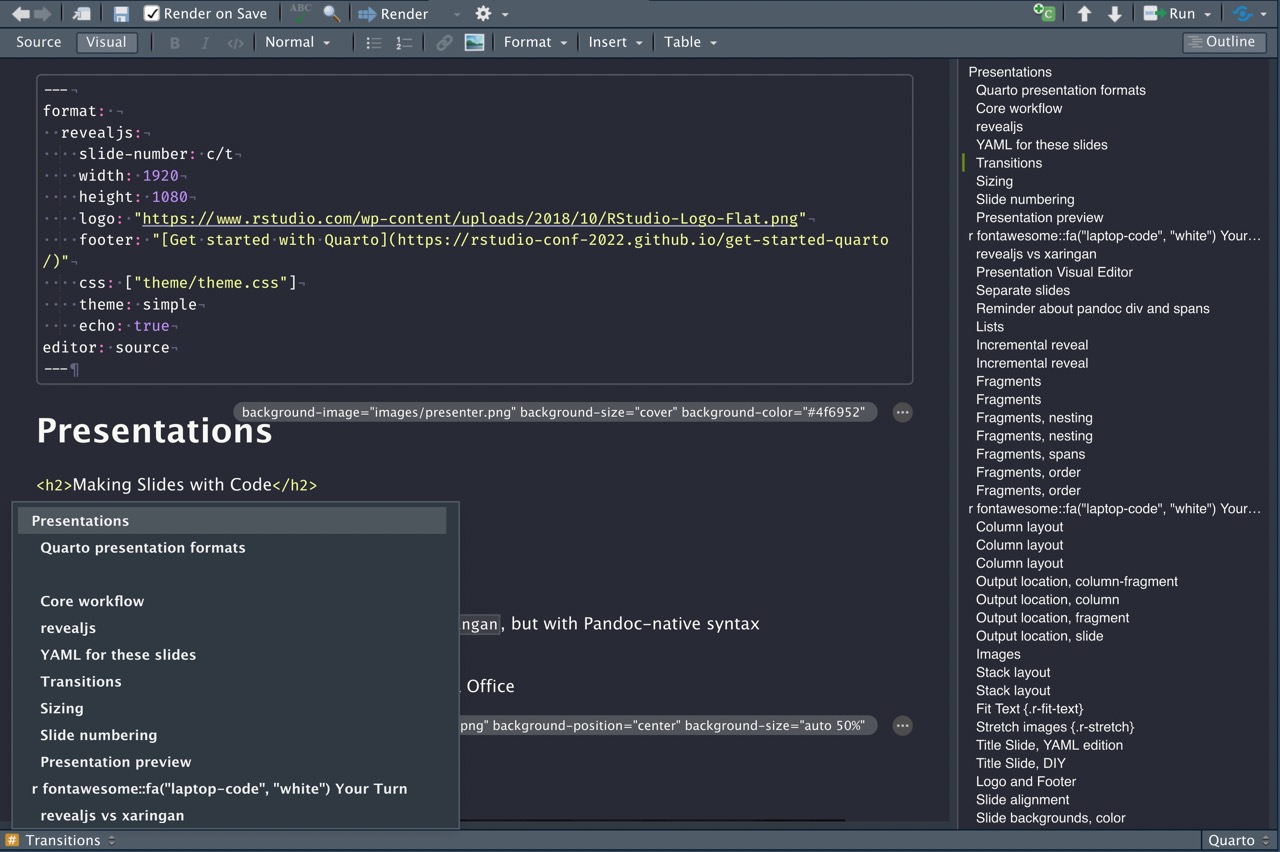
Presentation Visual Editor
Unlike xaringan, Quarto + revealjs can be edited with the RStudio Visual Editor!

Separate slides
Level 2 header = new slide
Level 1 header = new slide and new section
---can also delineate slides via horizontal rules or leave the heading “blank” for untitled slides
Reminder about pandoc div and spans
::: {.class}
<SOME CONTENT>
:::
Some text with a specific [span]{.span-class}Lists
- Create lists with
-or*or1.
Incrementally reveal elements with:
::: {.incremental}

- First item
- Second item

:::
Or turn it off for specific lists
::: {.nonincremental}

- 1st Item
- 2nd Item

:::
Incremental lists
- First item
- Second item
- Last item
Incremental reveal
Not limited to just bullet points…
Use . . . syntax to indicate a break at an arbitrary location
                   mpg cyl disp  hp drat    wt  qsec vs am gear carb
Mazda RX4         21.0   6  160 110 3.90 2.620 16.46  0  1    4    4
Mazda RX4 Wag     21.0   6  160 110 3.90 2.875 17.02  0  1    4    4
Datsun 710        22.8   4  108  93 3.85 2.320 18.61  1  1    4    1
Hornet 4 Drive    21.4   6  258 110 3.08 3.215 19.44  1  0    3    1
Hornet Sportabout 18.7   8  360 175 3.15 3.440 17.02  0  0    3    2
Valiant           18.1   6  225 105 2.76 3.460 20.22  1  0    3    1
Incremental reveal
Fragments
You can also make a point with fragments
Fade in
Fade out
Highlight red
Fade in, then out
Slide up while fading in
Fragments
::: {.fragment}
Fade in
:::

::: {.fragment .fade-out}
Fade out
:::

::: {.fragment .highlight-red}
Highlight red
:::

::: {.fragment .fade-in-then-out}
Fade in, then out
:::

::: {.fragment .fade-up}
Slide up while fading in
:::
Fragments, nesting
Fragments can be nested to affect the same “text” multiple times
Fade in > Turn red > Semi fade out
Fragments, nesting
::: {.fragment .fade-in}
::: {.fragment .highlight-red}
::: {.fragment .semi-fade-out}
Fade in > Turn red > Semi fade out
:::
:::
:::
Fragments, spans
This is an important sentence!
This is an [important sentence!]{.fragment .highlight-red}Mind the gap when riding the rail!
Mind the [gap]{.fragment .fade-in} when riding the rail!Fragments, order
Appears last
Appears first
Appears second
Fragments, order
::: {.fragment fragment-index=3}
Appears last
:::

::: {.fragment fragment-index=1}
Appears first
:::

::: {.fragment fragment-index=2}
Appears second
:::
Your Turn
- Open
materials/workshop/05-presentation/fragments.qmd - Make the portions appear in order: top -> bottom and left -> right
Column layout
:::: {.columns}

::: {.column width="40%"}
contents...
:::

::: {.column width="60%"}
contents...
:::

::::
Column layout
On the left
On the right
Column layout
Rows: 32
Columns: 11
$ mpg  <dbl> 21.0, 21.0, 22.8, 21.4, 18.7, 18.1, 14.3, 24.4, 22.8, 19.2, 17.8,…
$ cyl  <dbl> 6, 6, 4, 6, 8, 6, 8, 4, 4, 6, 6, 8, 8, 8, 8, 8, 8, 4, 4, 4, 4, 8,…
$ disp <dbl> 160.0, 160.0, 108.0, 258.0, 360.0, 225.0, 360.0, 146.7, 140.8, 16…
$ hp   <dbl> 110, 110, 93, 110, 175, 105, 245, 62, 95, 123, 123, 180, 180, 180…
$ drat <dbl> 3.90, 3.90, 3.85, 3.08, 3.15, 2.76, 3.21, 3.69, 3.92, 3.92, 3.92,…
$ wt   <dbl> 2.620, 2.875, 2.320, 3.215, 3.440, 3.460, 3.570, 3.190, 3.150, 3.…
$ qsec <dbl> 16.46, 17.02, 18.61, 19.44, 17.02, 20.22, 15.84, 20.00, 22.90, 18…
$ vs   <dbl> 0, 0, 1, 1, 0, 1, 0, 1, 1, 1, 1, 0, 0, 0, 0, 0, 0, 1, 1, 1, 1, 0,…
$ am   <dbl> 1, 1, 1, 0, 0, 0, 0, 0, 0, 0, 0, 0, 0, 0, 0, 0, 0, 1, 1, 1, 0, 0,…
$ gear <dbl> 4, 4, 4, 3, 3, 3, 3, 4, 4, 4, 4, 3, 3, 3, 3, 3, 3, 4, 4, 4, 3, 3,…
$ carb <dbl> 4, 4, 1, 1, 2, 1, 4, 2, 2, 4, 4, 3, 3, 3, 4, 4, 4, 1, 2, 1, 1, 2,…
Output location, column-fragment
Output location, column
Output location, fragment

Output location, slide
Output location, slide

Column Layout, arbitrary fragment
If you try . . . syntax WITH ::: {.columns} - it won’t be incremental… BUT:
These appear first
- Make
- Your
- List
Then this
                   mpg cyl disp  hp drat    wt  qsec vs am gear carb
Mazda RX4         21.0   6  160 110 3.90 2.620 16.46  0  1    4    4
Mazda RX4 Wag     21.0   6  160 110 3.90 2.875 17.02  0  1    4    4
Datsun 710        22.8   4  108  93 3.85 2.320 18.61  1  1    4    1
Hornet 4 Drive    21.4   6  258 110 3.08 3.215 19.44  1  0    3    1
Hornet Sportabout 18.7   8  360 175 3.15 3.440 17.02  0  0    3    2
Valiant           18.1   6  225 105 2.76 3.460 20.22  1  0    3    1
Column Layout, arbitrary fragment
You can nest .incremental + .fragment to get your expected behavior.
Your Turn
- Create a new presentation with RStudio> New Quarto Presentation
- Create two columns with the
::: {.columns}and use.fragmenttags on the columns for incremental reveal of those columns
Images
{fig-align="center"}

Images
Stack layout
Incremental reveal of images/content


Stack layout
::: {.r-stack}
{.fragment width="450"}
{.fragment width="400"}
{.fragment width="300"}
:::ATTENTION
Fit Text {.r-fit-text}
::: {.r-fit-text}
Attention
:::
Stretch images {.r-stretch}
Fit to the remaining space - this is the default behavior in revealjs
{.r-stretch}
Title Slide, YAML edition
---
format: revealjs
title: Hello Quarto
subtitle: Slides with revealjs
author: <a href="https://themockup.blog">Tom Mock</a>
date: 2022-07-11
institute: RStudio
title-slide-attributes:
    data-background-image: images/paper-texture.jpg
    data-background-size: cover
---
Title Slide, DIY
# {background-image="images/paper-texture.jpg" background-size="cover"}

:::{style="text-align: center;"}

<h1>Hello Quarto</h1>
<img src="images/headshot.jpeg" style="border-radius: 50%; border:10px solid #447099;" width="250px"/>
<h2>Tom Mock, RStudio</h2>

:::
Logo and Footer
format: revealjs
footer: <https://quarto.org/>
logo: https://www.rstudio.com/wp-content/uploads/2018/10/RStudio-Logo-Flat.png
A footer can also be set by slide with:
::: {.footer}
<https://themockup.blog>
:::
Slide alignment
- Heading level one will be center-aligned
- Heading level two will be left-aligned
::: {style="text-align: right;"}
<h2>Right aligned!</h2>

-   Some bullets
-   Another bullet
:::
Right aligned!
- Some bullets
- Another bullet
Slide backgrounds, color
## Slide backgrounds, color {background-color="blue"}Slide backgrounds, images
## Slide backgrounds, images {background-image="images/howard-table.png" background-size="cover"}Slide backgrounds, images
Note, you may need to set a background-color to black/white to “force” the text to contrast.
| Attribute | Default | Description |
|---|---|---|
background-image |
URL of the image to show. GIFs restart when the slide opens. | |
background-size |
cover | See background-size on MDN. |
background-position |
center | See background-position on MDN. |
background-repeat |
no-repeat | See background-repeat on MDN. |
background-opacity |
1 | Opacity of the background image on a 0-1 scale. 0 is transparent and 1 is fully opaque. |
Tabsets
::: {.panel-tabset}

## Element 1

## Element 2

:::
Tabsets
                   mpg cyl disp  hp drat    wt  qsec vs am gear carb
Mazda RX4         21.0   6  160 110 3.90 2.620 16.46  0  1    4    4
Mazda RX4 Wag     21.0   6  160 110 3.90 2.875 17.02  0  1    4    4
Datsun 710        22.8   4  108  93 3.85 2.320 18.61  1  1    4    1
Hornet 4 Drive    21.4   6  258 110 3.08 3.215 19.44  1  0    3    1
Hornet Sportabout 18.7   8  360 175 3.15 3.440 17.02  0  0    3    2
Valiant           18.1   6  225 105 2.76 3.460 20.22  1  0    3    1
Footnote
Footnotes in presentations are placed at the bottom of the slide and numbered.
For example, did you know that Howard is a dog^[Specifically he is a Boston Terrier, although sometimes he acts like a cat]?For example, did you know that Howard is a dog1?
He also likes to sleep2
Asides
Asides are like footnotes, but don’t have numbers1.
::: aside
They are placed above footnotes if footnotes are present on the page
:::Your Turn
- Create a new
revealjspresentation - Add several slides, each one should have one element:
- Aside/footnote
- Tabset with code and output (two options on how!)
- Code highlighting walking through at least two lines
- A slide with an image as the background
- Render it!
Code
Code line-highlighting
Use #| code-line-numbers: "3" syntax - will highlight line and fade other lines
Code line-highlighting
Sometimes you want to make a point though…
Code line-highlighting
And I often want to “walk through” a set of code!
Themes/Appearance
Arbitrary HTML + Position absolute
Position = absolute
{.absolute top=200 left=0 width="350" height="300"}
{.absolute top=50 right=50 width="450" height="250"}
{.absolute bottom=0 right=50 width="300" height="300"}Position = .absolute


Position .absolute
Auto-Animate
Automatically animate matching elements across slides with Auto-Animate.
Auto-Animate
Automatically animate matching elements across slides with Auto-Animate.


